Dragon - Haku from Spirited Away
Size: Big
Pattern Slightly modified from: here
Where you will find a beautiful, much more professional looking Haku than mine :D
Finished just before Halloween, 10/31/2013
This was an absolutely wonderful project, but I will not be doing something like it again soon. This was my third completed crochet animal [amigurumi], my first time using wire, my first time using safety eyes [which I failed at miserably since I didn't put them in as I was making it, so I ended up just super gluing them in (in my defense, I didn't have them until the dragon was done, so it was only half poor planning and half thoughtlessness/overconfidence)], and my first time in general making anything this big and this complicated. He was 100% worth it though. Actually crocheting him and putting him together was surprisingly easy [besides for some wire confusion]. The hardest part by far was the blue/green mane which was ridiculously time consuming [probably because I made it way too thick]. And a major setback towards the end was when his whiskers were made of too thick of wire and would not stay on his face properly so I had to improvise a whisker-holder on his face. Anyways, here's his short story:
The story of Haku:
So, I decided to make my friend something really cool for her birthday: not just any dragon, but Haku from Spirited Away. I found this amazing pattern by aphid777 on deviantart entitled Small-ish Haku. Little did I know that small-ish meant huge, so soon I was in way over my head. After a couple days of crocheting, it was my friend's birthday and all I had to show for it was a long, snake-like white body and the promise that I would turn it into something really cool for her belated birthday present. Fast-forward three months and Haku's body was chilling in my dorm closet, still just as incomplete, college being quite the distraction. I remembered my promise to my friend that I would have him done by Halloween, but suddenly Halloween was only a week and a half away. So I got out all of my too-long-untouched crocheting supplies and began working. The more I worked, the more awesome he looked, so I kept working. Finally, after about a week, he was done, so I packaged him up and sent him off to the magical city of Chicago where he made a belated birthday to remember! - the day after Halloween [almost kept my promise! - So close!!!]. And that is the wonderful story of Mr. Haku the Dragon
I had a bunch of fun and really fell in love with this dragon, but I think I will keep my upcoming projects to a much smaller size, and I prefer to stay away from wire. Below there is a really in depth picture journey of Haku's creation, so enjoy!
Work in Progress:
WARNING: There are a lot of pictures, starting with the most unfinished to finished, so if you want to see the cool dragon pictures scroll more towards the bottom.
So... This was the largest [besides for a blanket I did once], most complicated thing I have ever crocheted, thus a lot of pictures are a necessity!!!
This is the early days of the dragon back in July working on his body. This was when I started to realize just how big he was going to be!

This was when I added the wire to the body. From here on out I had to crochet the thing standing up with the wire poking me in the face. I literally was walking around my house with a big trail of yarn while dodging the giant wire and crocheting meanwhile making sure my puppy didn't go after my yarn. It was intense ^ ^

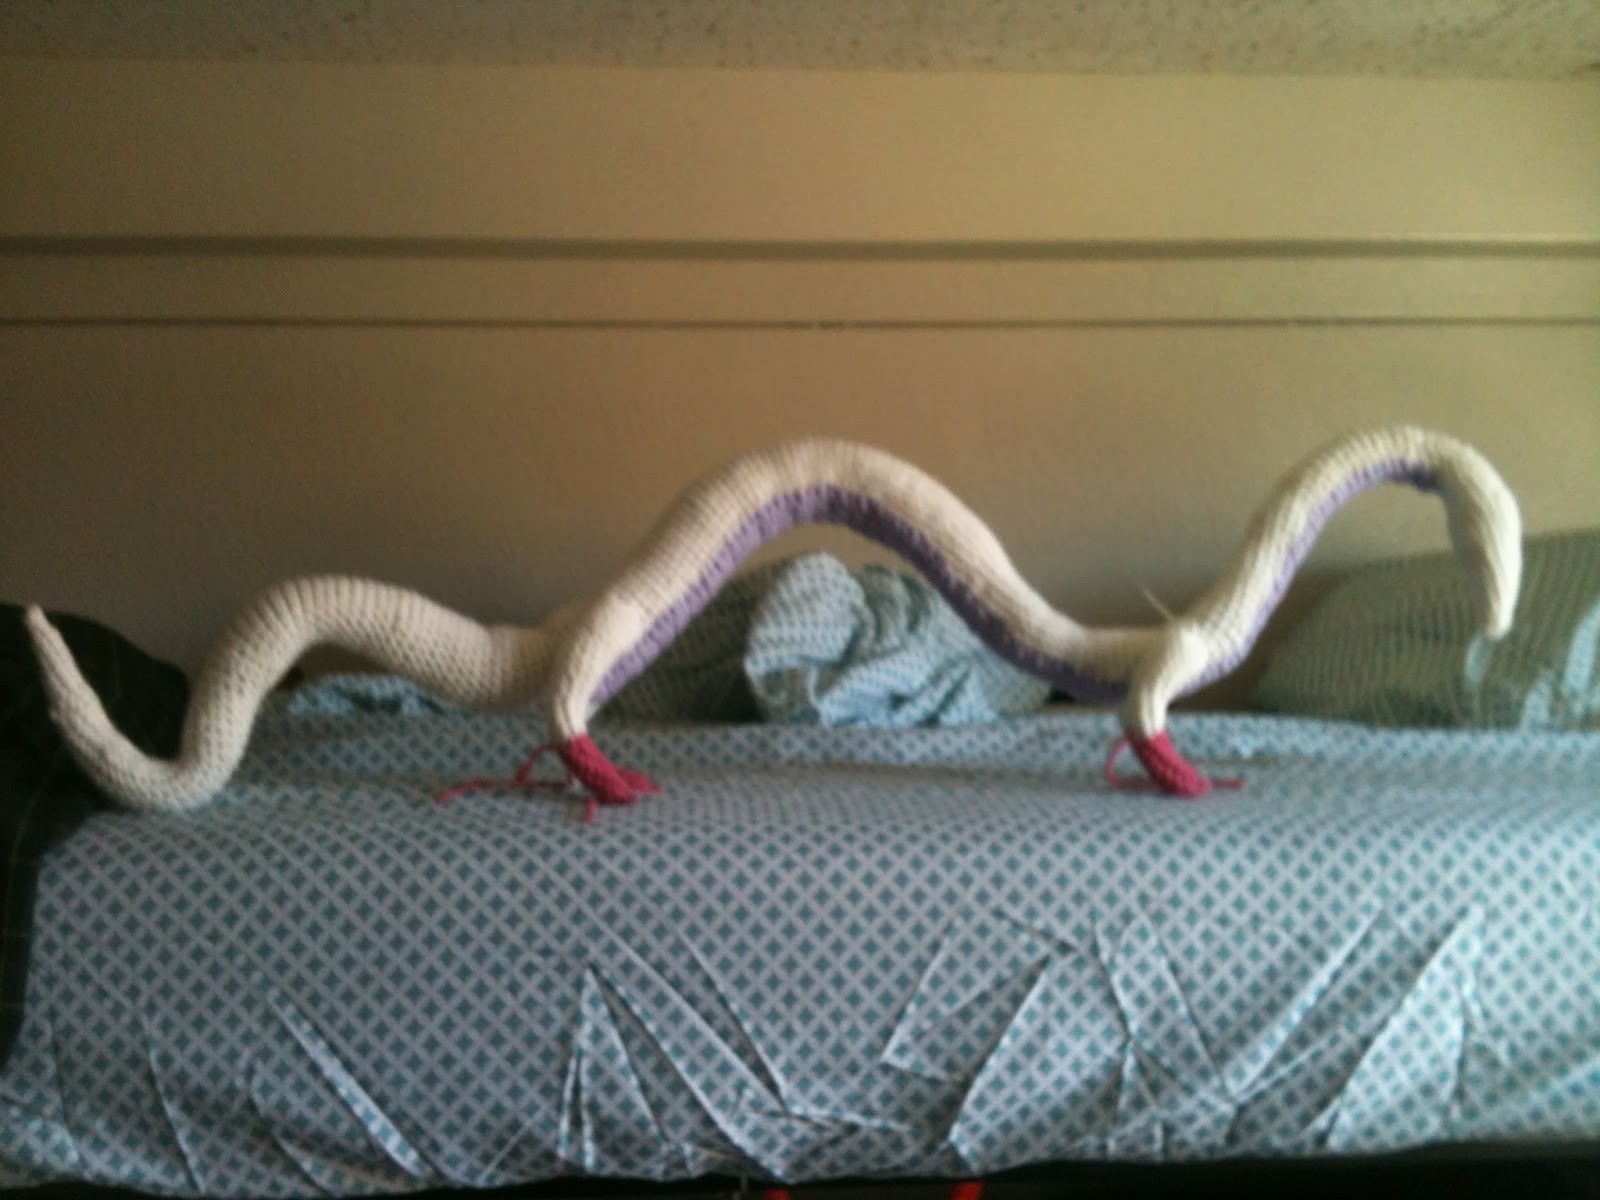
This is the completed body. Even all curvy it was still longer than my bed is wide! This was as much as I got done in July since I worked on the legs, but I was unhappy with the color pink that I had so I abandoned my half-finished legs.

Finally, months later he has legs!!! I commenced work in October with my acceptable color of pink yarn and began giving this guy legs. You can also see that I stitched in his purple belly that I had made back in June.

These back legs weren't even stitched on yet, but I was so excited that he was going to be able to stand...

Front and back legs on!!! He can stand all on his own and even hold up his own tail!

Lengthwise view of dragon thus far.
And so begins the long process of latch-hooking on his hair with a crochet hook [not a latch hook which would have been much easier but still would have taken forever].

A huge time jump later and he has all of his hair!!! Notice his hair isn't super soft and fuzzy because I didn't have a wire brush to really brush it out so I was just using my hair brush which did a poor job separating the strands of yarn and made his hair more wavy than fuzzy. [Not to mention that most of the yarn I ended up separating by hand because my hair brush was not working well enough D: - crocheting the dragon was the easy part - the hair by far was the hardest single thing I have ever done with yarn in my life]

Yay! Another lengthwise view of the dragon. Notice the excess yarn/hair pileup by his front legs. I didn't really think it though that he would need a lot less hair when his body was curving inwards... That could have saved me a lot of work... Isn't he beautiful though! I would leave him standing up on my bed while I went to classes, and usually he'd still be standing up there when I got back! Sturdy little dragon :D

Closeup on the wavy haired dragon.

Hanging dragon! Isn't he a cutie?

Just chilling up on my bed.

Look he has eyes! And horns!!! I used brown animal safety eyes from Joann Fabrics. The horns are wire wrapped with yarn. I used a little bit of superglue just to ensure that the horns didn't unwrap. Also, you can't exactly put safety eyes on a crochet animal after it is already made so I cheated and superglued them in. I would've been able to fit the washers through the stitches if I hadn't used such big safety eyes [12 mm].

Lengthwise view of the little guy with his eyes and horns.

Such a cutie! [sorry there's so many pictures, but I couldn't help it!]

Whiskers!!!

The whiskers were sure a pain because I only had super thick wire so it was dragging his whole head down and the whiskers would flip upside down. I had to create a little whisker brace going through his face in order to keep them up. This was super poor planning on my part, but it ended up working out okay.

Lengthwise view of dragon with whiskers. Note on his hair: I ended up extending his hairline a little bit bast the third bump [the bump after his hind legs] but I never took a picture of the minor hair extension. Just a note though.

Now that Mr. Dragon is complete, time to take a couple last pictures and then pack him up :(

Notice I added some black felt lashes around his eyes to make them more anime-like.

Dragon looking out window <3

Again, dragon looking out window <3

Dragon all packed up </3


Note: I ended up using a bigger box at the post office for no extra cost, but I had to squeeze him in this box just in case. Hard to believe such a big animal could fit in such a little box. My roommate didn't think I could do it, but I made it happen - though he looks pretty uncomfortable </3

Aftermath of the dragon:

Couldn't brush my hair for a couple weeks afterwards until I finally cleaned my brushes [just wore my hair in a messy bun every day].

Big fuzz ball of blue yarn I have to figure out something to do with...

I will miss seeing Mr. Dragon perched on my loft whenever I get back from my classes but I have spent my time with him and now he is in an even better [and more exciting] place!
Mr. Dragon has reached his forever home as a [very belated] birthday [Halloween] gift to a wonderful friend of mine :D And he lived happily ever after <3 <3 <3 [Who said dragons couldn't live happily ever after anyways? :D ]
~Now on to the next project!