Pages

Friday, April 25, 2014

Other Art 4: Melted Crayon Art

1: Blue and Yellow
04/24/2014
Size: 8in x 12in
Melted Crayon (Crayola) on canvas
Colors: Blue, Yellow, Black, White

2: Placid Water
04/24/2014
Size: 8in x 12in
Melted Crayon (Crayola) on canvas
Colors: Blue Green, Black, White

3: Storm
04/24/2014
Size: 8in x 12in
Melted Crayon (Crayola) on canvas
Colors: Blue Violet, Black, White

4: Ocean
04/24/2014
Size: 8in x 12in
Melted Crayon (Crayola) on canvas
Colors: Blue, Blue Green, Blue Violet, Black, White

These were my first attempts (in order) at melted crayon art. Melted crayon art is super easy and fun to do, but it does make a mess (well only if you do it how I did :D - I still am speckled with blue and yellow crayon). It's also really quick; I made all of these in one evening. All you need are some old crayons, and canvas, and a hair dryer. There are tons of demos on youtube of how to do a rainbow melted crayon art or you can just go freestyle like I did.


Blue and Yellow: The concept for this one was that my favorite combination of two colors is blue and yellow because they are really vibrant and I really like their contrast (think blue and yellow Macaw [it is also one of my life goals to do a series of paintings only using blue and yellow]). This piece took me the longest because I did not know what I was doing at all, and it is also the piece I am least happy with. My main problem was that I kept getting a big glob of icky greenish color in the middle of the piece since the melted crayons did not mix into a nice vibrant green like paints do. I ended up scraping most of it off and redoing it until it got to a point where it was okay. I wish there was a little bit more interaction between the yellow and blue sides of the painting. In retrospect I should have tried to also use the green crayon to get the ideal green color in the middle.


Placid Water: For this piece I took a blue green crayon and melted it until it covered the entire canvas (not smoothly but in blotches similar to the final). Then I went in and melted a little bit of white in the top right corner and some black in the bottom left corner. The concept for this piece was that the blue green color looked really pretty and I was still recovering from my first piece so I only wanted to use one main color since blending the yellow and blue was so difficult. I decided then to due a turquoise piece with dramatic black shadows and white highlights. As I started making the piece however, it looked a lot like water so I changed my initial concept and went for more subtle uses of black and white. My main problem with this one was that I ended up with a huge blob of black in the bottom left corner where I wanted dark turquoise mixed with black. So I went back in to try to add more blue on top of the black and it just turned into a mess. Eventually I finagled it enough to where I was happy with it.


Storm: My concept for this one was to due the same thing I did with Placid Water except for with blue violet and using more white than black. However it turned out quite differently which was a pleasant surprise, and it actually looks like rainclouds. Technique-wise I started by melting the black in the corner. Next I melted the purple in the middle and fading into the black, and lastly the white in the upper corner. Some of the white spattered down into the black which at first I wasn't too happy about but now I think is really cool because it looks like it's raining. This one took me the shortest amount of time and I am generally happy with it.


Ocean: The concept for this one was actually a bag that I have that has a castle surrounded by a deep purple fading to turquoise sky. Well, it was supposed to be a sky until the white at the top gave it the perfect ocean wave effect that I wish I could replicate with acrylics. Anyways I did this one much the same as Storm only with more colors. First I did the white corner, then turquoise, blue, purple, black. Afterwards I went back to add more white at the top and more blue to blend the colors a little bit better.

Overall I had a ton of fun. This was especially fun because I have recently been thinking about experimenting with a couple abstract designs with acrylics, so this gave me a lot of ideas. :D

Monday, February 24, 2014

Other Art 3: Discover Drawing

 Discover
Size: Small... approx. 6ish x 10ish in.
Material: Prismacolor Colored Pencils and Computer [Paint.net program (love it btw)]
Time: < 1 week

So, this was a lot of fun. I made this picture for a t-shirt contest [didn't win, but I didn't expect to; it would make one expensive t-shirt! {congrats to whoever the winner was}]. The theme was DISCOVER, so I created a picture in which you can discover the word 'discover' inside discoveries... or something like that. Anyways, I thought my concept was pretty cool, so I made it, choosing to work on the picture as a picture rather than a t-shirt design. I put it together really quickly so it isn't that great; my colored pencil technique is especially bad but I really wanted to see my concept take shape. Initially I thought that I would draw it out and then color it on the computer and make it look super professional, but I am not very skilled with that yet, so instead I just unleashed my messy colored pencil skills on it and used the computer to make it a little more... neater? [Basically I just increased the contrast and decreased the noise]. Overall, I had a lot of fun with it, and I would love to go back some day and make a better, more detailed drawing/painting of this or a similar concept.

Developing the concept: It started when I asked my brothers what they thought of when they heard the word 'discover.' One replied 'Columbus,' and the other, 'Finding something new.' So I immediately thought of some sort of multi-terrained area that included a Columbuslike figure [originally he was Columbus, but I changed that when I had to turn him red and make him into a 'D'] and finding the letters of discover in famous discoveries. Originally it was going to be water with Columbus in a boat, the shore with a clam, 'C,' and then land and a volcano. Later this changed into mostly a water scene. The first letter I decided on was the telescope aimed at the moon for the 'I.' I wanted the other letters to represent other discoveries. A sunken ship became a 'V.' Electricity inspired 'S' [though S was one of the last letters I decided upon]. The tree 'E' and dolphin 'O' represent different facets of life sciences, just as the 'S' represents both the discovery of electricity and the study of everything derived from that discovery. Similarly the volcano is both a discovery that 'that mountain is not a mountain after all' as well as the science of geology and similar fields. The 'C' cave was initially supposed to have a shining jewel inside it, but I decided that caves themselves had enough to discover inside of them. That's pretty much it...

Side note: It's really interesting to see at what point people discover 'discover.' It took my roommate forever, but she watched me from the beginning, so it makes sense that she wouldn't see it since she saw it mainly in parts. Took my brother a while to notice too ;) Other people notice it immediately. [shrug - it's fun to watch].

Alternate Work:

 This is the exact design I submitted with the title. I think the noise level was slightly different...

This is the picture with a 'pen ink' filter. I thought it looked kinda cool :D


Concept Art:
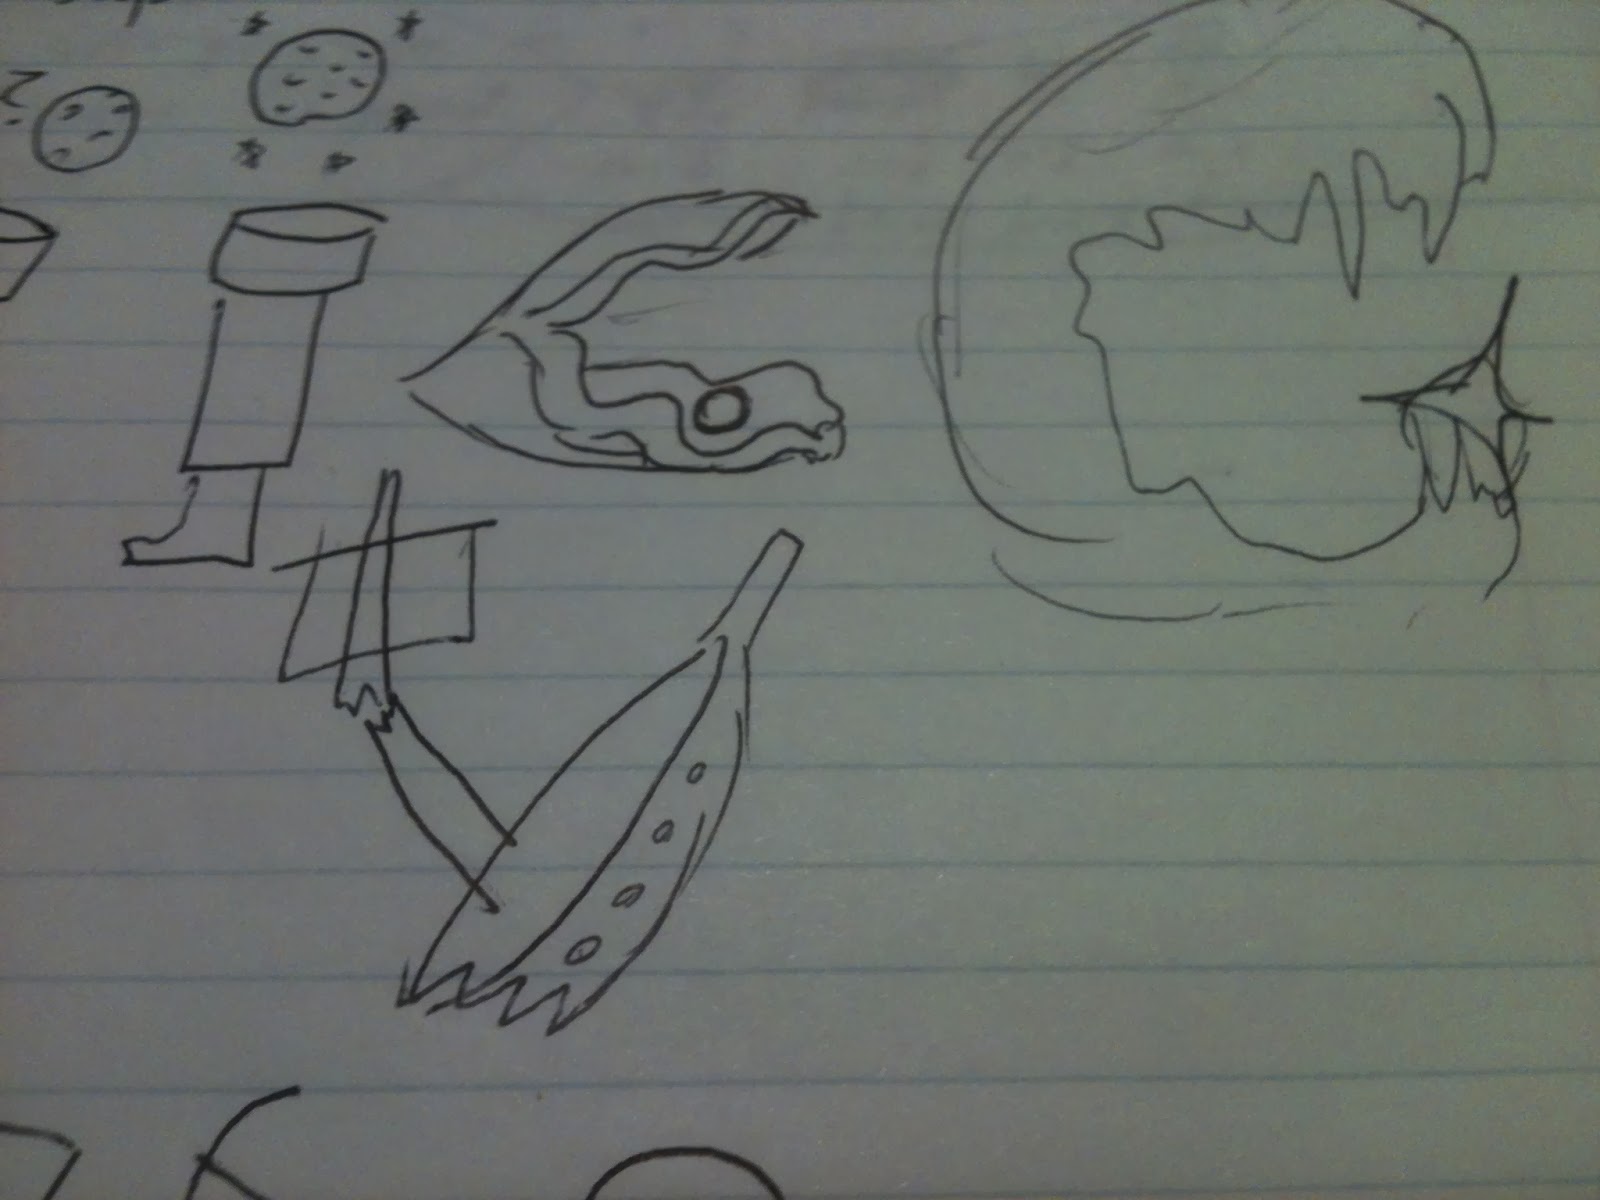
 Early sketches... Originally the 'C' was going to be a clam, then I thought of a cave with a jewel, and later I got rid of the jewel to just have a lighted up cave. Notice I was spelling 'Discover' wrong in the dolphin pic...

Method in this madness??? Highly debatable. 

 The weird plant/berry thing was an idea for the 'O.' Also, I was trying to put in a windmill for either the 'D' or the 'S' [with swooshy wind forming the letter], but I decided against it.

 Final Placement and sketch.

 Begin coloring. :)

Final, unaltered picture. Note: this is a picture of the picture whereas I altered a scan of the picture, so in reality, the altered picture isn't really that altered, just that the blacks are a little blacker pretty much.

And we come full circle :)

Tuesday, November 19, 2013

Crochet 3: Dragon - Haku

Dragon - Haku from Spirited Away
Size: Big
Pattern Slightly modified from: here
Where you will find a beautiful, much more professional looking Haku than mine :D
Finished just before Halloween, 10/31/2013

This was an absolutely wonderful project, but I will not be doing something like it again soon. This was my third completed crochet animal [amigurumi], my first time using wire, my first time using safety eyes [which I failed at miserably since I didn't put them in as I was making it, so I ended up just super gluing them in (in my defense, I didn't have them until the dragon was done, so it was only half poor planning and half thoughtlessness/overconfidence)], and my first time in general making anything this big and this complicated. He was 100% worth it though. Actually crocheting him and putting him together was surprisingly easy [besides for some wire confusion]. The hardest part by far was the blue/green mane which was ridiculously time consuming [probably because I made it way too thick]. And a major setback towards the end was when his whiskers were made of too thick of wire and would not stay on his face properly so I had to improvise a whisker-holder on his face. Anyways, here's his short story:

The story of Haku:

So, I decided to make my friend something really cool for her birthday: not just any dragon, but Haku from Spirited Away. I found this amazing pattern by aphid777 on deviantart entitled Small-ish Haku. Little did I know that small-ish meant huge, so soon I was in way over my head. After a couple days of crocheting, it was my friend's birthday and all I had to show for it was a long, snake-like white body and the promise that I would turn it into something really cool for her belated birthday present. Fast-forward three months and Haku's body was chilling in my dorm closet, still just as incomplete, college being quite the distraction. I remembered my promise to my friend that I would have him done by Halloween, but suddenly Halloween was only a week and a half away. So I got out all of my too-long-untouched crocheting supplies and began working. The more I worked, the more awesome he looked, so I kept working. Finally, after about a week, he was done, so I packaged him up and sent him off to the magical city of Chicago where he made a belated birthday to remember! - the day after Halloween [almost kept my promise! - So close!!!]. And that is the wonderful story of Mr. Haku the Dragon

I had a bunch of fun and really fell in love with this dragon, but I think I will keep my upcoming projects to a much smaller size, and I prefer to stay away from wire. Below there is a really in depth picture journey of Haku's creation, so enjoy!

Work in Progress: 
WARNING: There are a lot of pictures, starting with the most unfinished to finished, so if you want to see the cool dragon pictures scroll more towards the bottom.

So... This was the largest [besides for a blanket I did once], most complicated thing I have ever crocheted, thus a lot of pictures are a necessity!!!

This is the early days of the dragon back in July working on his body. This was when I started to realize just how big he was going to be!

This was when I added the wire to the body. From here on out I had to crochet the thing standing up with the wire poking me in the face. I literally was walking around my house with a big trail of yarn while dodging the giant wire and crocheting meanwhile making sure my puppy didn't go after my yarn. It was intense ^ ^

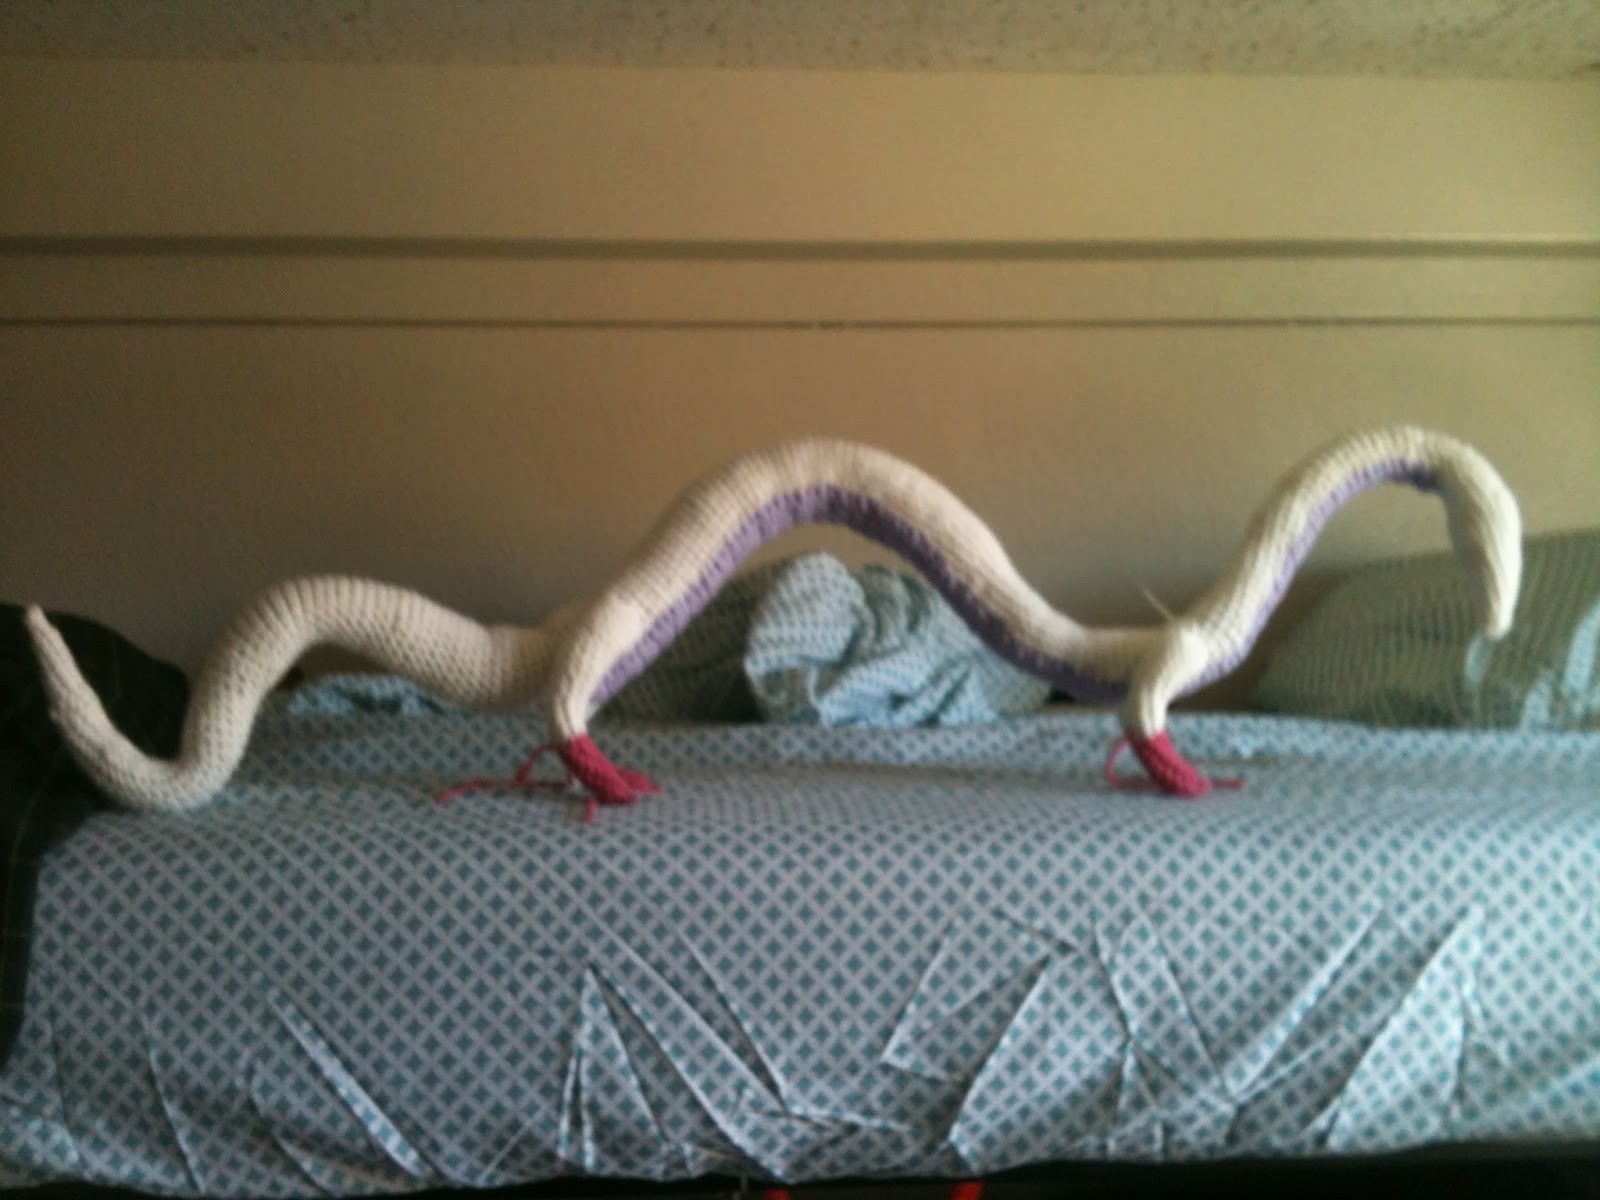
This is the completed body. Even all curvy it was still longer than my bed is wide! This was as much as I got done in July since I worked on the legs, but I was unhappy with the color pink that I had so I abandoned my half-finished legs.

Finally, months later he has legs!!! I commenced work in October with my acceptable color of pink yarn and began giving this guy legs. You can also see that I stitched in his purple belly that I had made back in June.

These back legs weren't even stitched on yet, but I was so excited that he was going to be able to stand...

 Front and back legs on!!! He can stand all on his own and even hold up his own tail!

Lengthwise view of dragon thus far.

And so begins the long process of latch-hooking on his hair with a crochet hook [not a latch hook which would have been much easier but still would have taken forever].

A huge time jump later and he has all of his hair!!! Notice his hair isn't super soft and fuzzy because I didn't have a wire brush to really brush it out so I was just using my hair brush which did a poor job separating the strands of yarn and made his hair more wavy than fuzzy. [Not to mention that most of the yarn I ended up separating by hand because my hair brush was not working well enough D:  - crocheting the dragon was the easy part - the hair by far was the hardest single thing I have ever done with yarn in my life]

Yay! Another lengthwise view of the dragon. Notice the excess yarn/hair pileup by his front legs. I didn't really think it though that he would need a lot less hair when his body was curving inwards... That could have saved me a lot of work... Isn't he beautiful though! I would leave him standing up on my bed while I went to classes, and usually he'd still be standing up there when I got back! Sturdy little dragon :D

Closeup on the wavy haired dragon.

 Hanging dragon! Isn't he a cutie?

Just chilling up on my bed.

 Look he has eyes! And horns!!! I used brown animal safety eyes from Joann Fabrics. The horns are wire wrapped with yarn. I used a little bit of superglue just to ensure that the horns didn't unwrap. Also, you can't exactly put safety eyes on a crochet animal after it is already made so I cheated and superglued them in. I would've been able to fit the washers through the stitches if I hadn't used such big safety eyes [12 mm].

 Lengthwise view of the little guy with his eyes and horns.

Such a cutie! [sorry there's so many pictures, but I couldn't help it!]

 Whiskers!!!

The whiskers were sure a pain because I only had super thick wire so it was dragging his whole head down and the whiskers would flip upside down. I had to create a little whisker brace going through his face in order to keep them up. This was super poor planning on my part, but it ended up working out okay.

Lengthwise view of dragon with whiskers. Note on his hair: I ended up extending his hairline a little bit bast the third bump [the bump after his hind legs] but I never took a picture of the minor hair extension. Just a note though.

Now that Mr. Dragon is complete, time to take a couple last pictures and then pack him up :(

Notice I added some black felt lashes around his eyes to make them more anime-like.

Dragon looking out window <3

Again, dragon looking out window <3

Dragon all packed up </3


Note: I ended up using a bigger box at the post office for no extra cost, but I had to squeeze him in this box just in case. Hard to believe such a big animal could fit in such a little box. My roommate didn't think I could do it, but I made it happen - though he looks pretty uncomfortable </3

Aftermath of the dragon:

 Couldn't brush my hair for a couple weeks afterwards until I finally cleaned my brushes [just wore my hair in a messy bun every day].

 Big fuzz ball of blue yarn I have to figure out something to do with...

I will miss seeing Mr. Dragon perched on my loft whenever I get back from my classes but I have spent my time with him and now he is in an even better [and more exciting] place!

Mr. Dragon has reached his forever home as a [very belated] birthday [Halloween] gift to a wonderful friend of mine :D And he lived happily ever after <3 <3 <3 [Who said dragons couldn't live happily ever after anyways? :D ]

~Now on to the next project!